One of the best things you can increase the curb appeal of your home is by painting your front door. This is the entryway to your property, plus it’s one of the first things people see when they pull up.
So you may have done some great upkeep with your front door to keep your home’s exterior looking its best.
But what about your interior doors? These may need some touchups or even completely new coats of paint.
Are you thinking of taking on this project yourself? Here are five great tips for painting interior doors.
1. Pick a Matching Color for Your Home’s Interior
Perhaps your interior doors currently have neutral colors that you don’t feel particularly enthusiastic about. In this case, it’s a fantastic opportunity to pick something more interesting.
However, you shouldn’t just pick your favorite color, as it may clash with your current theme. If you want to play it safe, you can always stick with other neutral colors. So if you initially had white or off-white, consider using light to dark grays next.
Otherwise, if you want your interior doors to be statement pieces, don’t be afraid to be bold. For example, you can pick dark blue or even red, so long as it matches your current color scheme.
Whatever color you choose, make sure you have enough. There’s nothing more annoying than having to stop a project in the middle because you’ve run out of paint. Do a quick calculation before you head out to the hardware store so you know how much to buy.
If you really want to get a unique look, you can also shop around for some new doorknobs that are not only eye-catching but also complement your doors.
2. Make Sure You Properly Prep Your Door Before Painting
When you paint interior doors, you have to first prep it before you start applying the paint.
One of the first things you need to do is remove all hardware. This means you need to remove it from the hinges; it’ll be a lot easier than trying to paint it while still in the doorframe. You can then move it somewhere where not only can you lay the door down, but also get good lighting.
You’ll also need to remove the knobs, as it’ll be a lot easier than painting around them. That way, you won’t get any stray paint on them either.
After all of this is done, you’ll need to clean the door with a household cleaner. You should also fill any dents or holes with filler and then sand the door down.
This is also a good point to grab everything you need for this project. Make sure you have paintbrushes, canvas, painter’s tape, rollers, roller handle, roller tray, sandpaper, and a utility knife. Also, make sure you’re wearing appropriate clothes.
3. Paint Your Door in the Correct Order
Once you get everything ready, you can’t just go about painting your door randomly. This is especially true if your door has panels. You should also highly consider using both paintbrushes and paint rollers to get better precision in certain areas of your door.
Also, you’ll want to use a light touch rather than a heavy one. Once you get comfortable with how the paint goes onto your door, you can experiment with more pressure for heavier coats of paint.
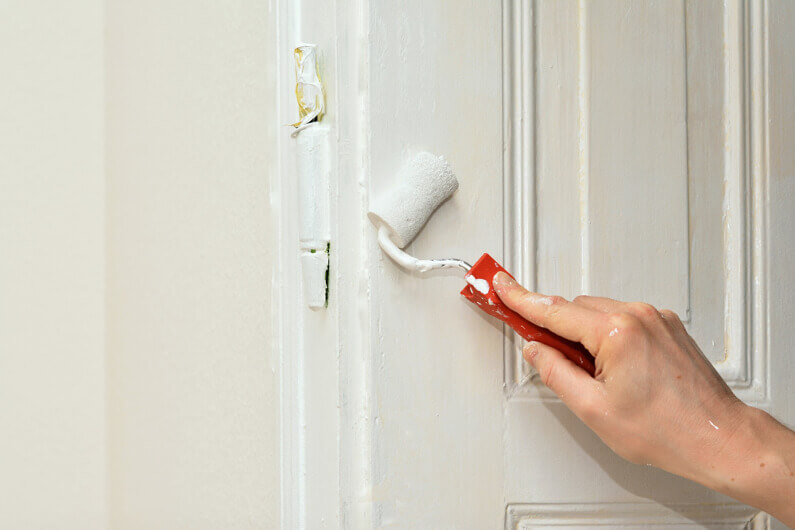
First, you’ll want to paint the door’s edges. You can use either a paintbrush or roller, whatever your preference is.
Then, you’ll want to paint the panels themselves. It may be best to use the brush to get the recessed areas and then the roller for the flat areas, as it’ll cut down on the time spent painting. It’ll also be more even.
For the next few steps, you’ll want to use your roller.
Paint the vertical strips down in the middle of the door. Then, paint the horizontal rails, which are the horizontal spaces in between the panels.
The last step is to paint the vertical strips on the outer parts of your door.
4. Be Patient
When painting a door, you might be tempted to rush the drying process. But if you don’t give your interior doors the proper amount of time to dry, the end result can look mediocre.
If possible, let the door dry overnight for 24 hours so you’re 100 percent sure it’s ready before proceeding with sanding and finishing up the paint job. The longer you wait, the easier it’ll be to sand it.
So if you’re patient with the drying process, you’ll end up with a more beautiful and professional-looking door.
5. Sand and Recoat Before Putting Your Door Back
Once your door dries, it’s not quite ready to be put back into the frame just yet. You’ll need to sand and recoat it first.
Get your 320 grit sandpaper and lightly sand down the door. This will get rid of the dust nubs in your paint job. If you wish, you can then apply a second coat of paint. Once it dries, you can then hang your door back up in your frame.
Painting Interior Doors Is Easy With Our Tips
If painting interior doors was daunting before, it shouldn’t be anymore, now that you have our expert tips. But why spend your precious time and money on painting doors when you can have a professional do it?
We at Florida Painting Company have over 10 years of experience providing painting and drywall services in the Miami-Dade area. We offer high-quality services at affordable prices.
Need a professional to repaint a door? Then get in touch with us now. We’ll give you a free quote!
