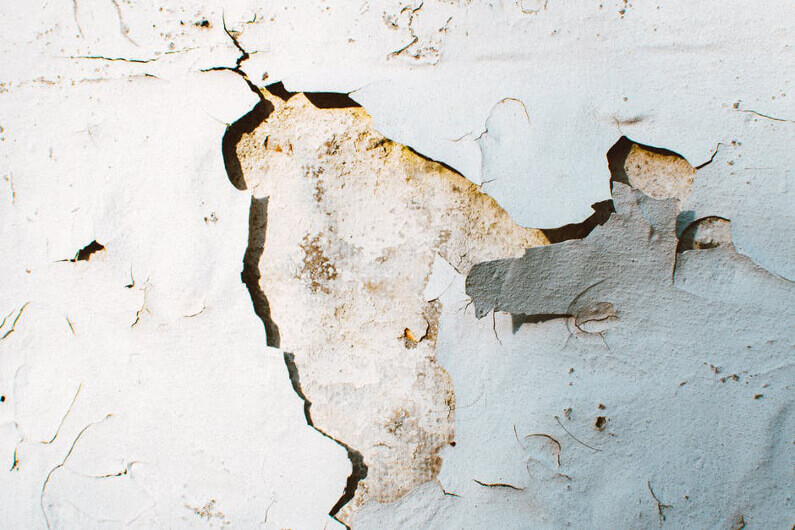
From normal settling to humidity or even structural problems, there are a lot of reasons that you might suddenly notice cracks in your walls. These cracks are unsightly, but you don’t have to live with them!
Luckily, repairing cracks in a wall is easier than you might think! The steps will vary a bit depending on the type of wall you’re dealing with. Take a look at these three simple methods, complete with plenty of pro hacks!
1. Repairing Cracks in a Wall Made of Plaster
Patching cracks in plaster walls isn’t difficult – as long as it hasn’t come apart at the lath. You can tell by gently pressing on the wall close to the crack to see if it gives.
If the wall flexes, then this is a more complex repair. Filling wall cracks of this type is more of a complex project that should be left to the pros. As long the wall doesn’t give, however, follow these simple steps to easily repair the crack.
Start by evaluating the size of the crack. If it’s smaller than ¼ inch, you’ll want to slightly widen the crack so there’s more surface space for the joint compound to adhere to. Do this by lightly scratching the scratch with a putty knife.
Next, slightly dampen the crack. This will remove any loose particles and will help the joint compound adhere better. Then use a 4-inch taping knife to spread thin layers of joint compound over the crack.
Add Fiberglass Tape and Joint Compound
While the compound is still wet, press a piece of self-adhesive fiberglass mesh tape into it then let it dry. This will help to keep the crack from growing.
Once the compound is dry, add another layer, let dry, and repeat twice more.
Pro hack: Gently sand the area before adding the next layer to remove any bumps. This will make the finished project blend in much better.
Each layer should be about two to three inches wider than the edges of the last one. By the time you’ve added the three additional layers, you should have covered a surface that extends 12 inches from the original crack.
Sand and Paint
It’s a good idea to wait for at least 24 hours after you apply the last coat to ensure that everything is completely dry. If there’s a raised area after the repair is done, sand it down so it’s flush with the rest of the wall. Finally, paint the area to match the rest of the room!
2. Fixing Drywall Cracks
Fixing small cracks in drywall is also a pretty easy project.
Start by using a utility knife to notch a “v” shape along the crack. This will widen the crack, which will help the joint compound stay in place. Remove any debris by scraping it out or using a vacuum.
The rest of the process is very similar to repairing plaster walls. One main difference is that you don’t always need the mesh tape. If you’re going to repair hairline cracks in drywall (less than ¼ inch deep) you can skip this step.
You’ll still want to add three layers of compound, sand, and make sure everything is dry.
Pro hack: When repairing drywall, the painting process is a little bit different. Always start by adding primer to the patched area. Otherwise, the paint won’t blend in with the rest of the wall.
Another option is to purchase a painter and primer combo. This will reduce the number of layers you’ll have to apply. In this case, add one or two coats to the affected area so that it matches the rest of the room.
3. Sealing Wall Cracks in Concrete
This last set of hacks will help you quickly and easily fill cracks in concrete. Start by increasing the surface area by chipping away at the concrete so it extends one inch below the crack. You can do this with a chisel and hammer.
Use a wire brush or a vacuum to remove any debris, dust, or pieces of concrete that may be in the way. Rinse the area with water and dry it off with a towel.
Pro hack: You can also use an air compressor or a flat-head screwdriver to remove the debris.
Next, use a concrete bonding adhesive to prime the area. The easiest way to do this is to use an old paintbrush to apply it in a thin layer that extends around the edges and deep into the crack. Then use a putty knife to press concrete patching into the crack.
You’ll want to do this by adding multiple layers and letting each layer dry completely before applying the next one. Keep repeating this process until the crack is completely filled and the patching is flush with the rest of the wall.
Before the patched area dries, add texture so that it blends in with the rest of the wall’s surface. Use a broom or any type of brush-like tool to rough up the surface so it looks evenly worn. Finally, paint on a layer of heavy-duty water-based polyurethane. This will help prevent the area from staining.
Let Florida Painting Company Take Care of Your Projects for You!
Now that you know how to repair cracks in a wall, you might wonder whether you really want to bother with doing it yourself. Don’t worry! We can take care of it for you!
We offer both drywall service and interior and exterior painting. Contact us today to discuss your project and get an estimate.
