A hole-in-the-wall is a loving expression given to a place off the beaten track.
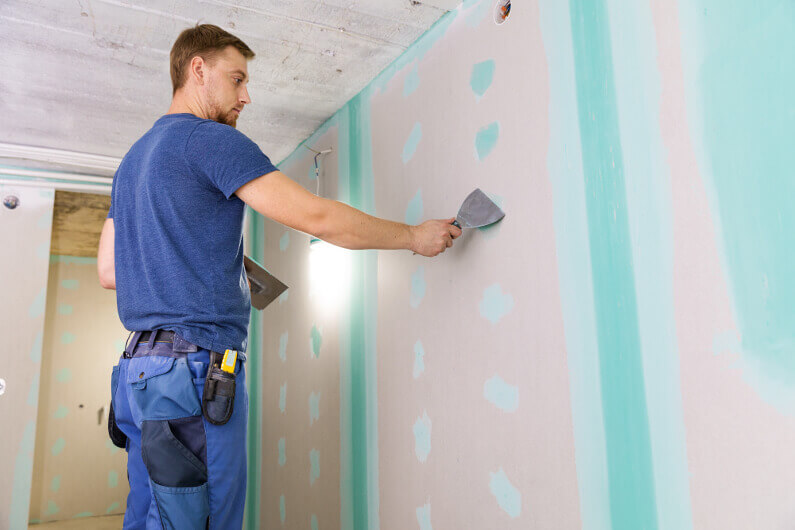
A hole in the actual wall is much less loving and desireable. A hole in the wall isn’t as difficult to fix as one may think.
Below is How to Fill a Hole in the Wall in 7 Easy Steps. Follow these 7 steps and your room will be back to as if nothing ever happened!
How to Fill a Hole in the Wall in 7 Easy Steps: What Is Needed?
Before a hole can be fixed, some supplies will be necessary. Some of these supplies will be different depending on the size and scale of the hole, but not all.
No matter the size of the hole a container of spackle putty, a putty knife, a sanding block, a towel, and some water. It’s also good to grab a small brush and any paint you may want to cover up with. When the patch job is finished, most spackle comes out looking white and needs to be painted in order to blend in.
If the hole is larger and can’t simply be spackled it will need an adhesive mesh patch made of metal or soft mesh. These patches are found at department stores and even some grocery chains.
Keep in mind that 4-5cm of extra mesh will be needed to adhere the mesh to the wall, so don’t be afraid of buying more than you need. It is better to have some to cut off and reinforce the hole with.
If you are looking for a professional to help you with this process, we can help!
Step 1: Time to Mix and Prepare
The first step in any patch job is to prepare both surfaces.
If the hole is small a simple cleaning and a wipe done around the area will work. If the hole is large it may be good to measure it for both length and width. The dimensions will be needed so that a proper square can be cut to match.
After measuring the square it will be time to mix the putty. The putty will need a quick stir so that it begins to look smooth.
Step 2: It’s Putty Time!
Now the mesh must be held up against the hole. The extra mesh will be important now. A scoop of putty will go over the top of the hole (depending on the size of the hole, if it’s very big it may need more than one) and should be smoothed out over the mesh.
Make sure to remove any excess with the putty knife so that it just covers.
It is easiest to work from one corner over to the next making sure to get over the top of all the mesh.
If the hole is tiny, a simple spackle over the hole will fill the hole. Again, remove any excess with the putty knife.
Step 3: Sand City!
Now that the hole is beginning to disappear, it’s time to get lost in the details.
Next, sandpaper is needed to make the wall look good as new! Using the sandpaper, make small light circles to smooth the excess putty off and make the wall look flat again.
Again no matter the size of the hole, the putty should be sanded to a flat surface.
Step 4: Here We Go Again!
There will most likely be parts that flake off when sanding the wall.
That is why in the next step a second coat of putty should be added. This will fill any small holes or imperfections.
This will help to make the hole in the wall a distant memory.
Step 5: Sand and Sit
After filling any remaining holes with putty the hole should be nonexistent!
Now the former hole will be sanded down again, and this is the last time you will have to remember a hole in the wall again!
After sanding the wall a second time, it should dry. You have earned yourself a break!
Step 6: Almost Done…
A day or more will have passed, and that hole in the wall will be a large white square.
Now is the time to paint the wall. If the wall still seems unfinished more putty and sanding may be necessary. However, you should be ready to paint the wall.
Sometimes it can be difficult to find a paint color if you need help try this!
If you have darker walls a primer coat may be needed first. Otherwise, the square may appear slightly lighter than the other parts of the wall.
The primer should be painted on the wall first, then allowed to dry. After that, the first coat should be painted on smoothly and allowed to dry again.
Step 7: Second Coat and Forget About It
The last step should be easy!
Paint on the second coat, and allow it to dry. If you feel it needs additional layers more can be added.
This is it! After this, you are done, and if done correctly you will know it!
You’ve Done It
Learned how to fill a hole in the wall in 7 easy steps!
With spackle, mesh, a putty knife, and some sandpaper anything can be done. Fixing a hole in the wall may difficult, but if you follow the steps above it doesn’t have to be.
Life happens, but you can fix it!
If you are in the Florida area, allow us to make it as good as new for you!